Upper Falls, Cathance River, ME

I’m busy delving into the newly released Lightroom 3, organizing my library and doing some much needed keywording. In the course of doing so, I came across this photograph taken last fall at the Upper Falls, Cathance River, ME Thought it would make a nice blog post.

I must say that I am completely delighted at the image quality improvements in Lightroom 3. The new Lens Corrections are fantastic and I now have no reason to maintain my license for DxO Optics Pro, which is a time and money savings.

Only 1800 images left to sort through! My mid year resolution is to finish this task and never to fall behind on keywording and organizing again.

Don’t buy cheap flash triggers!

2010 Mid Atlantic Planetarium Society, Portland, ME

Recently, I had to photograph the Mid Atlantic Planetarium Society meeting in Portland, ME. This relatively simple shoot turned into a very stressful project due to two factors.

First, (I’m not supposed to admit this sort of thing, right?) I totally forgot about the shoot until I received a friendly reminder via phone (thanks Jerry!) about an hour before the shoot—you can probably imagine the extreme embarassment and quick mixed-with-panic thinking that ensued.

So, down to my basement office, grab camera bag (always ready to go), light stand bag (ready to go with two shoot through umbrellas, and stands), tripod, and one other bag. I get in the car, and I’m thinking fast and furiously. Then, as I drive down to Portland, I go over a lighting plan; shoot down on the group, from a chair or a ladder, and use two speedlights to cross light the group. Simple.

Now the second stressful event.

I arrive at the conference, notice that there is a balcony from which I can shoot (no ladder needed, yeah), set up my light stands, and attach my radio triggers (Chinese Cactus V2s triggers). Test the triggering. NOTHING.
Okay, panic setting in. I just used these triggers and they were working fine. Battery problem? Ha, I always carry spares. Load up the new batteries…still nothing. Panic level increasing. Group portraits are stressful just like weddings—there are no retakes. Now I have to abandon my original plan. No radio triggers, what to do? The conference room is pretty dark and I don’t want to have to push my ISO up to 3200 if I can avoid it. Fortunately, I carry a 10 m off camera shoe cord, so I managed to light the entire group with a single 580EX II flash on a shoot through umbrella.

Amazingly, I think there is only one person mid-blink in this photo, and he’s wearing glasses, so the reflections mask the blink. A successful group photo.

So, my take on the Cactus V2s triggers. Don’t use them unless you buy a few extras to have on hand. When I arrived home, I sat down to see what the issue was, and was able to make only one receiver fire. The second seems dead for no apparent reason. Maybe I’ll have to finally invest in Pocket Wizards. Time to do some RF trigger research.

Oh, and make sure to add ALL my shoots to my iCalendar.
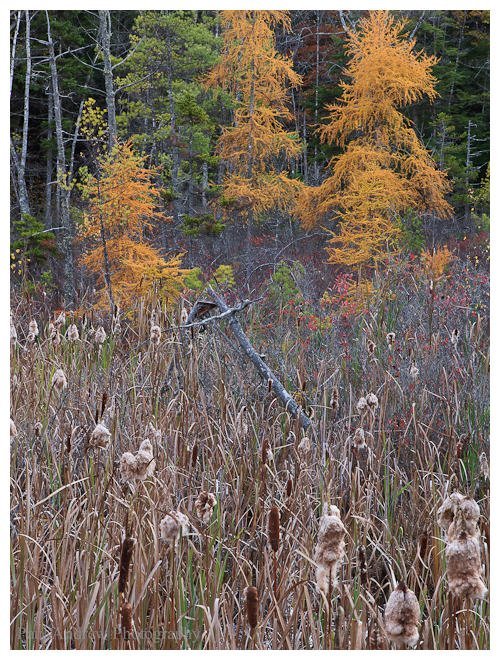
Febrary Ice

As I was walking my dog on this cold February day in Maine, I came across this icy stream. Unfortunately, I brought a monopod instead of a tripod, and was forced to do my best without a true stable platform. I attatched the monopod to my Canon G10 and braced the horizontally oriented camera/monopod against myself while taking this photo (1/4 sec, f/4, ISO 80). Not bad for 1/4 second. But what I’m not showing are the 35 pictures that didn’t make the cut. There’s one distracting element in this picture that bugs me; do you see it?

Free Lighroom Greeting Card Templates

<p>Freeman'sYard</p>

For those of you that use White House Custom Color for making greeting cards, I’ve made two (5″x7″) Lightroom 2.6 RC templates (one for a Landscape format, and the other for a Portrait format). These presets make a uniform 0.25″ white border around your photos. I made these on a Mac, and don’t know if they’ll work on a PC, though I’d love to know if they do.

To install the templates, first download the zipped Presets File and unzip it. Then you have two options:

1)  With Lightroom no running, drag the two template files to the appropriate location for Mac users: ~/Library/Application Support/Adobe/Lightroom/Print Templates/ then you should be done.

2) Or, you may, while in the Print Module, right click on the “User Presets” folder (in the Templates Panel) and choose “import”. Find the files you’ve unzipped (NOT the .zip file!) and install them. You should be ready to go.

To use the templates, here’s my workflow: take an image that I want to turn into a greeting card, make a virtual copy, and crop it to a custom aspect ratio of 6.5 x 4.5. This will fit exactly in the either template without having to use the “zoom to fill” feature which will effectively crop your image in a manner you cannot control. Then choose the format that fits your image, and click “Print to file”. The preset makes a jpeg file with an embedded Adobe RGB profile which you can save to a folder of your choosing. Now you have the front of your greeting card. I then use Apple’s Pages application to make a back to the card which has relevant information about the image. I export (File>Export) that image as a pdf and then open it in Preview and save a 300 dpi jpeg to the same folder as the front image.  I then synchronize the folder and in Lightroom, and stack the front and back images, do appropriate keywording and I then have a print ready greeting card that I can submit using ROES to WHCC. Here’s what the back of my greeting cards look like:

The back image for the above greeting card.

The back image for the above greeting card.

By the way, don’t adjust the margins in the preset, even though it looks like I’ve messed up and made them non-uniform; the reason is that the WHCC cards are submitted in the dimensions 5.125″ x 7.25″ and are trimmed down (very accurately) to 5″x7″. As far as my experience goes, this trimming is performed symmetrically, and this allows me to make my templates so that the final trimmed card has a uniform border.

Focus Stacking

On a Thanksgiving Day family hike in Brooksville I came upon this bend in the trail and realized while photographing that even at 24mm, I am not not going to get a sharp focus across the image (at least not without a tilt shift lens), so I set up my tripod and cable release and made two exposures; one with focus in the foreground, and the other with focus farther back in the frame.

Once home, I opened the two raw images using PhotoAcute and combined them using the focus stacking feature. This is the first time I’ve used this feature, and it worked remarkably well.

Happy Accidents

I was just working on some images making print ready files for sending to my printer (White House Custom Color). I’ve made a template in Lightroom’s Print Module that (when a properly cropped) makes a jpeg file ready to upload and print. However, the below portrait format print image was accidentally used with a landscape template for a 5×7 greeting card, and them I was left with the bottom image, which, after realizing what had happened, I instantly liked. This led to a good 20 minutes or so of making different versions and playing around with the crop. Freeman Patterson has a great exercise where he has you place your tripod in one spot and make a 10-20 images. Its a fantastic exercise in seeing, and not altogether different than my little cropping exercise.


Next time I am at Schoodic Point (the location of these photos) I will return with fresh eyes, inspired by a happy accident.